Computer Cookbook is a personal project that I created to better understand the bits and pieces inside a computer. Since I have always enjoyed working with computers, I wanted to learn the details on how they work and what is needed on the inside. A cookbook consists of various ingredients that follow a recipe and are put together to create a yummy meal, my book is similar, except well, you can’t eat the computer. You enjoy it.
Gathering up parts and ideas
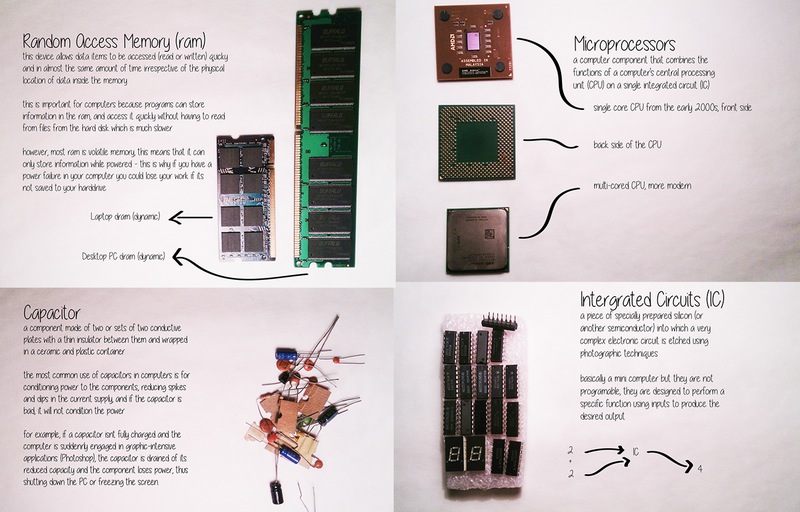
The first part of my project consisted of finding as many computer parts as I could, through friends, through discount stores, anything relevant that I found I added it to my collection. Eventually when I had enough to work with, I started researching. The research phase was the lengthiest and required a lot of editing, I condensed my research into a readable size that was easy to understand and still informative.
Throughout this process I learned so much about computers and found a lot of it to be interesting and fun at times, I included this into my cookbook as it is meant to be a relaxing read. I tried to stay away from the typical computer manual, which tend to be dense with information and technical jargon that is difficult for every user to grasp. My book is different because it is written in a casual conversation tone and is meant to teach the user, it also can make you laugh (if you have my bland sense of humour).
Creating the layouts
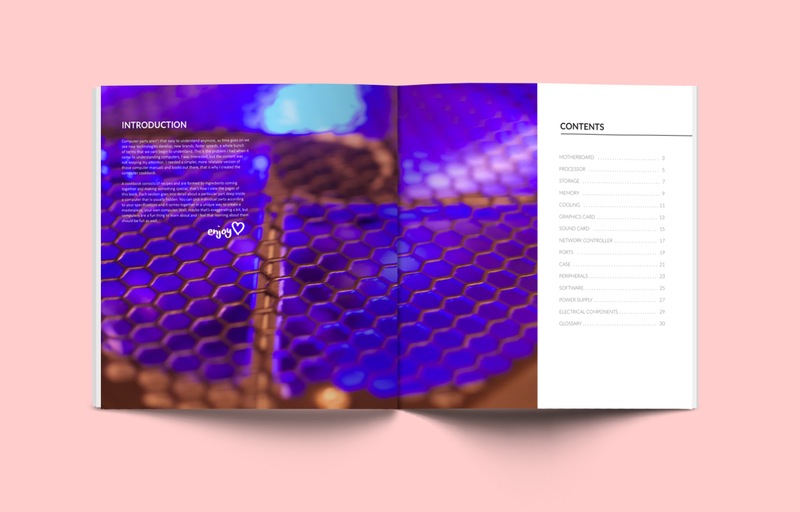
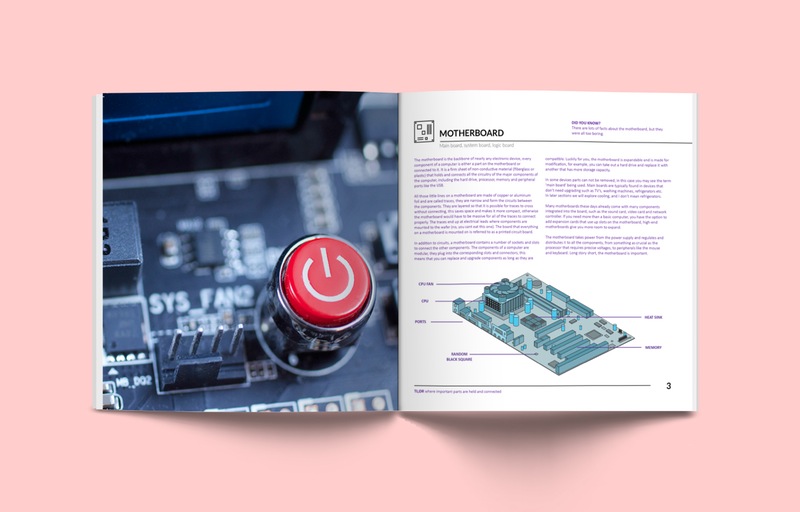
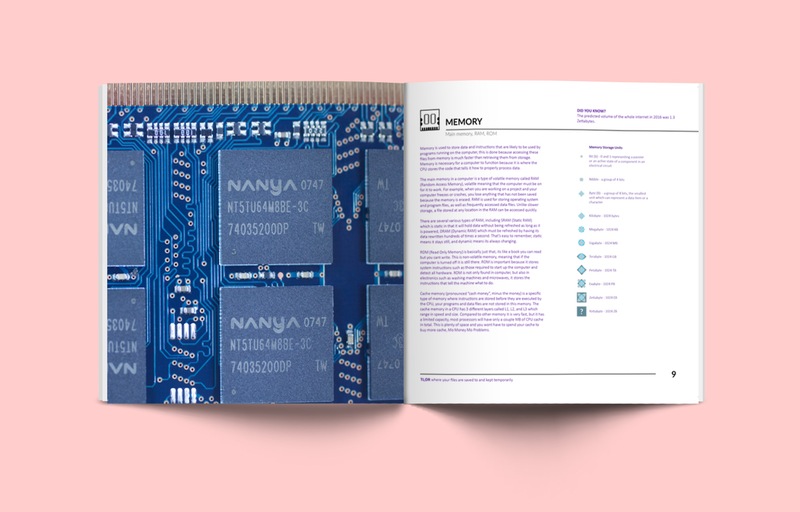
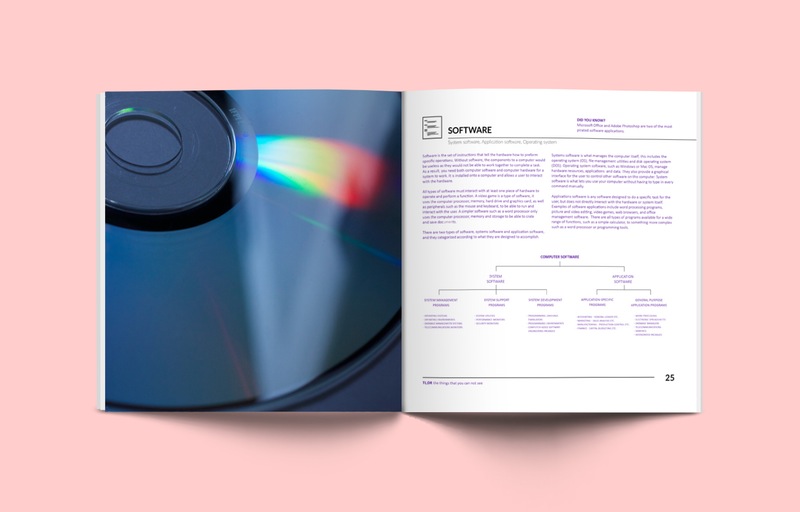
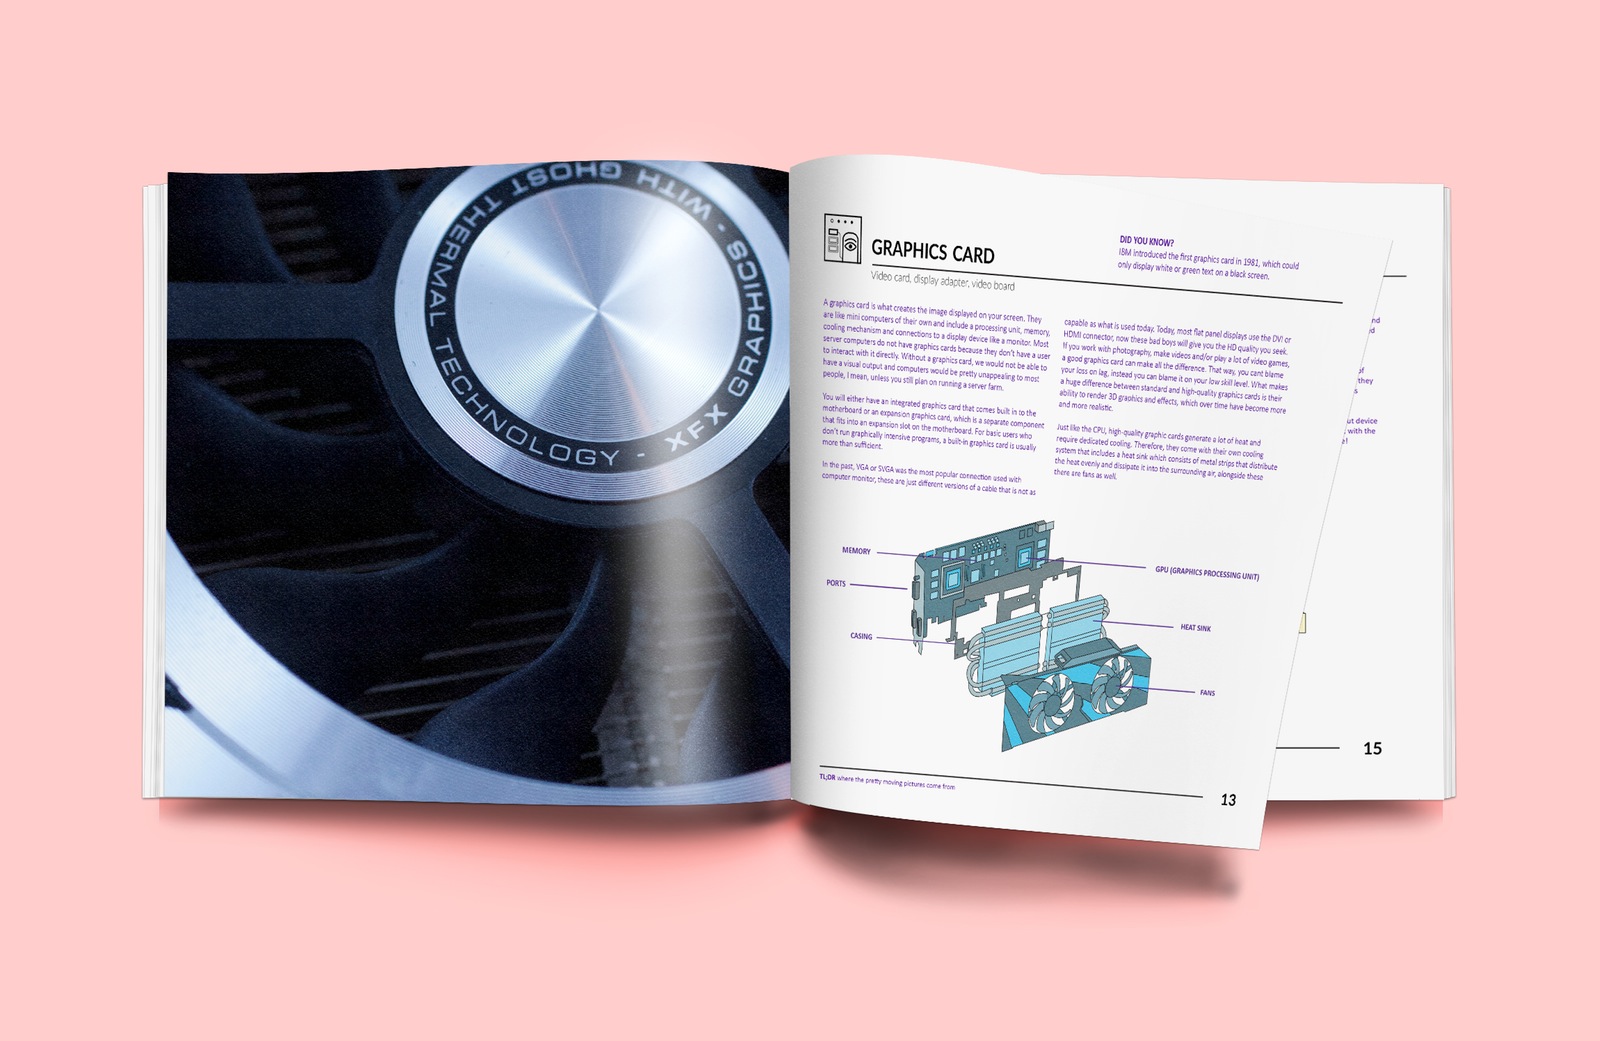
Once all of my research was completed, I began experimenting on how I wanted the book to be laid out. I was planning to take close ups of all the parts so I knew that I would have to main the images a highlight. The layout that I chose to do my book in was spreads that had a full size image on the left, and the text and diagrams on the right.
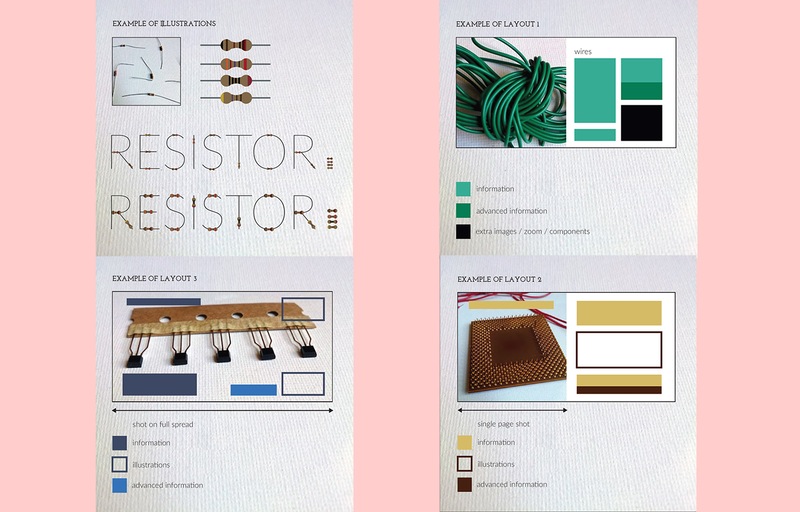
Photo time
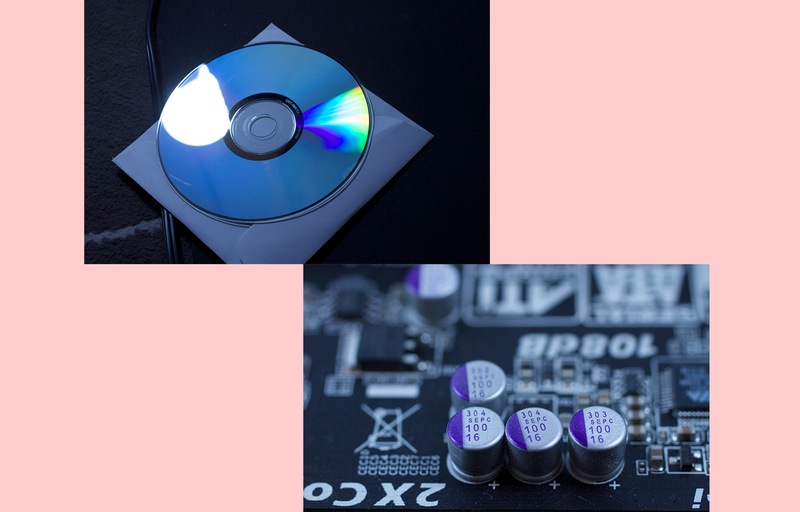
This was one of the funnest parts of my projects, I had no previous experience using a macro lens before and had to teach myself. I got my lighting ready and laid out every part and took each part from a few angles as well as top-down, I thought they would all turn out great as they looked nice in the thumbnails. However, I did not account for dust… once I opened up my images on the computer I saw just how much dust there is in all of the parts, and this was dust that I couldn’t really clean off as it would just come back. Then began the tedious work of photoshopping dust out of each photo.
Dust, dust everywhere.
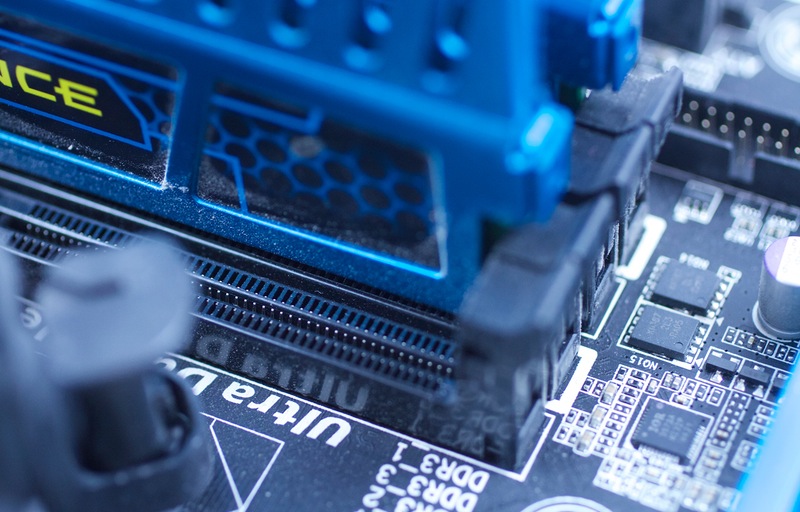
More dust! Out of focus. Boo.

Once I looked through the images and picked the best ones, (and made them dust-free) my book was complete. I am happy with how it turned out, I enjoy the images and the information that it provides, it is enjoyable for me to read and that was one of my original goals. I created a fun book and during the process I ended up teaching myself everything that I wanted to know.